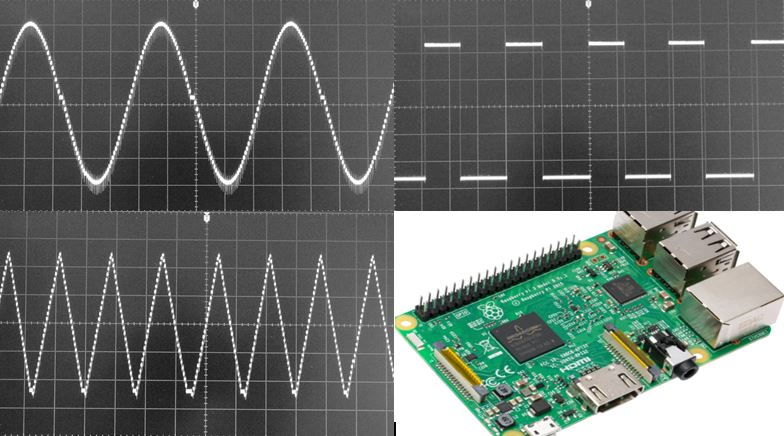
DIY Raspberry Pi Frequency Tone Generator

This guide will walk you through building a low-cost, standalone frequency generator using a Raspberry Pi and a small speaker or vibration module. Perfect for exploring bioresonant healing, vibrational medicine, or simple experiments in sound therapy.
🧰 What You’ll Need
🪛 Hardware
- Raspberry Pi (any model; Zero 2W or Pi 3/4 recommended)
- microSD Card (8GB or larger)
- Speaker (USB or 3.5mm AUX, or small amplifier with tactile transducer for sub-20 Hz use)
- Internet connection for setup (Ethernet or Wi-Fi)
💻 Software
- Raspberry Pi OS (Lite or Full)
- Python 3 (pre-installed)
- Optional: SSH access or monitor + keyboard
⚙️ Step-by-Step Instructions
1. Flash and Boot Raspberry Pi OS
- Use Raspberry Pi Imager to install Raspberry Pi OS onto the microSD card.
- Boot the Pi and complete initial setup (or enable SSH headlessly if using Lite).
2. Connect Audio Output
- Plug in a 3.5mm speaker, USB speaker, or use HDMI audio.
- Test with:
speaker-test -t sine -f 440
(Ctrl+C to stop)
3. Install Python Audio Tools
sudo apt update && sudo apt install python3-pip
pip3 install numpy sounddevice
4. Create the Tone Generator Script
Save this as tone_gen.py:
import numpy as np
import sounddevice as sd
import time

frequency = float(input("Enter frequency (Hz): "))
duration = float(input("Enter duration (seconds): "))
samplerate = 44100

t = np.linspace(0, duration, int(samplerate * duration), False)
tone = 0.5 * np.sin(2 * np.pi * frequency * t)

print(f"Playing {frequency} Hz for {duration} seconds...")
sd.play(tone, samplerate)
sd.wait()
5. Run It
python3 tone_gen.py
Enter a frequency like 10 and duration like 30, and it will play.
🧘♀️ Optional: Use Vibration for Sub-20 Hz Healing
Human ears can’t hear below 20 Hz well — but your body can feel it.
Upgrade Options
- Tactile transducer (e.g., Dayton BST-1)
- Low-pass filtered amplifier
- Attach to chair, bed, yoga mat, or under desk
🌀 Bonus: Auto-Play Sequence
You can modify the script to play healing tones in sequence:
healing_freqs = [3, 5, 7.83, 10, 12, 18, 20]
for f in healing_freqs:
    print(f"Playing {f} Hz")
    tone = 0.5 * np.sin(2 * np.pi * f * t)
    sd.play(tone, samplerate)
    sd.wait()
    time.sleep(1)
✅ You’re Done
You now have a self-contained healing frequency generator running on your Pi — no apps, no Wi-Fi required after setup.
You can:
- Automate daily healing routines
- Connect it to a small screen and buttons
- Play entire treatment protocols offline
💡 Tip
Try 7.83 Hz (Schumann Resonance) for grounding and 10 Hz for inflammation. Adjust volume low for sustained sessions.