DIY Raspberry Pi HQ Camera Build with Pi Zero WH
This project walks you through building a portable, high-quality camera using the Raspberry Pi HQ Camera module, Pi Zero WH, and a compact display. The result is a battery-powered camera system with a live view, perfect for experimentation, photography, and maker projects.
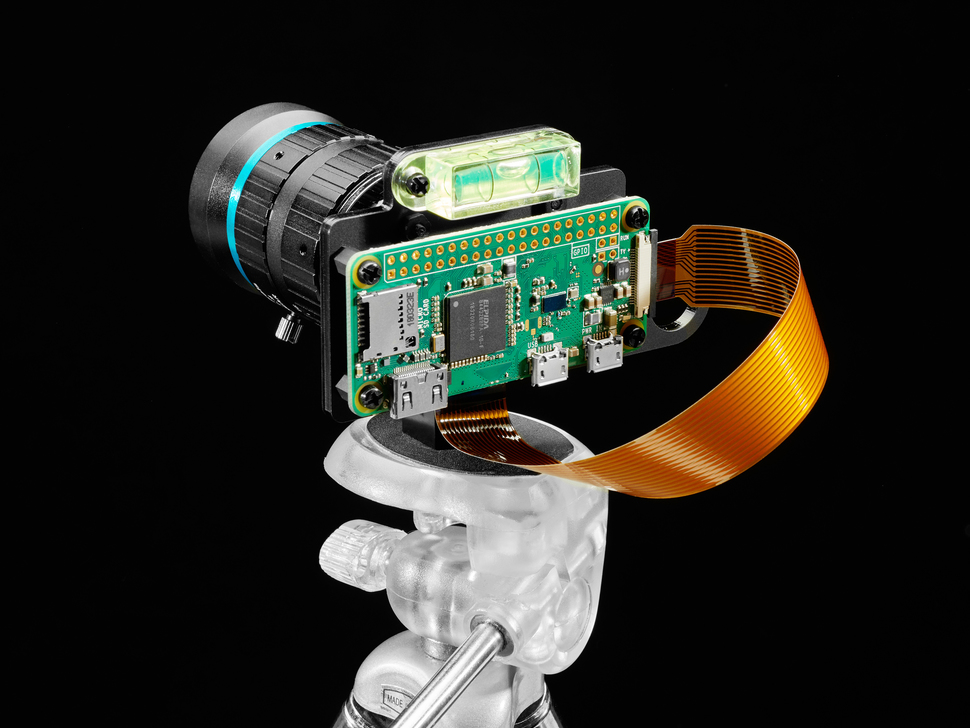
🧰 Components
- Raspberry Pi Zero WH (Zero W with Headers)
- Raspberry Pi High Quality HQ Camera - 12MP
- 16mm 10MP Telephoto Lens for Raspberry Pi HQ Camera
- Raspberry Pi Zero v1.3 Camera Cable
- Adafruit Mini PiTFT 1.3” - 240x240 TFT Add-on for Raspberry Pi
- Lithium Ion Cylindrical Battery - 3.7v 2200mAh
- Power management board or charger (e.g., Adafruit PowerBoost 1000 Basic)
🛠️ Step-by-Step Build
1. Assemble the Camera
- Connect the Raspberry Pi HQ Camera to the Pi Zero using the camera cable.
- Attach the telephoto lens to the camera.
2. Connect the Display
- Attach the Mini PiTFT display to the GPIO pins on the Pi Zero.
- This display will show the live feed from the camera.
3. Power Setup
- Connect the Lithium Ion battery to a power management board (PowerBoost 1000 Basic recommended).
- This ensures a stable power supply to the Pi Zero.
4. Software Setup
- Install Raspberry Pi OS (Lite or Full) using Raspberry Pi Imager.
- Enable the camera interface:
sudo raspi-config
- Install PiTFT display drivers (instructions on Adafruit’s site).
- Use
raspistillorraspividfor images/videos, or Python’sPiCamerafor scripting.
5. Build the Enclosure
- Design and 3D print, or repurpose a small project box to fit the Pi, battery, camera, and display.
6. Testing and Tweaks
- Test the live view and image capture.
- Adjust camera settings for lighting and desired image quality.
💡 Additional Tips
- Battery Life: Track runtime and consider a higher-capacity battery if needed.
- User Interface: Build a simple GUI with Python + Tkinter to control camera settings.