How to Build a Raspberry Pi Camera for Seamless WebRTC Streaming
I recently completed a project using the Pi Zero 2 W and the Camera Module 3. My goal was to stream a live feed from the camera and use WebRTC to integrate it with HTML. After some trial and error, I found MediaMTX to be the best package for WebRTC. I wouldn’t have been able to do this without stumbling upon a helpful Reddit post.
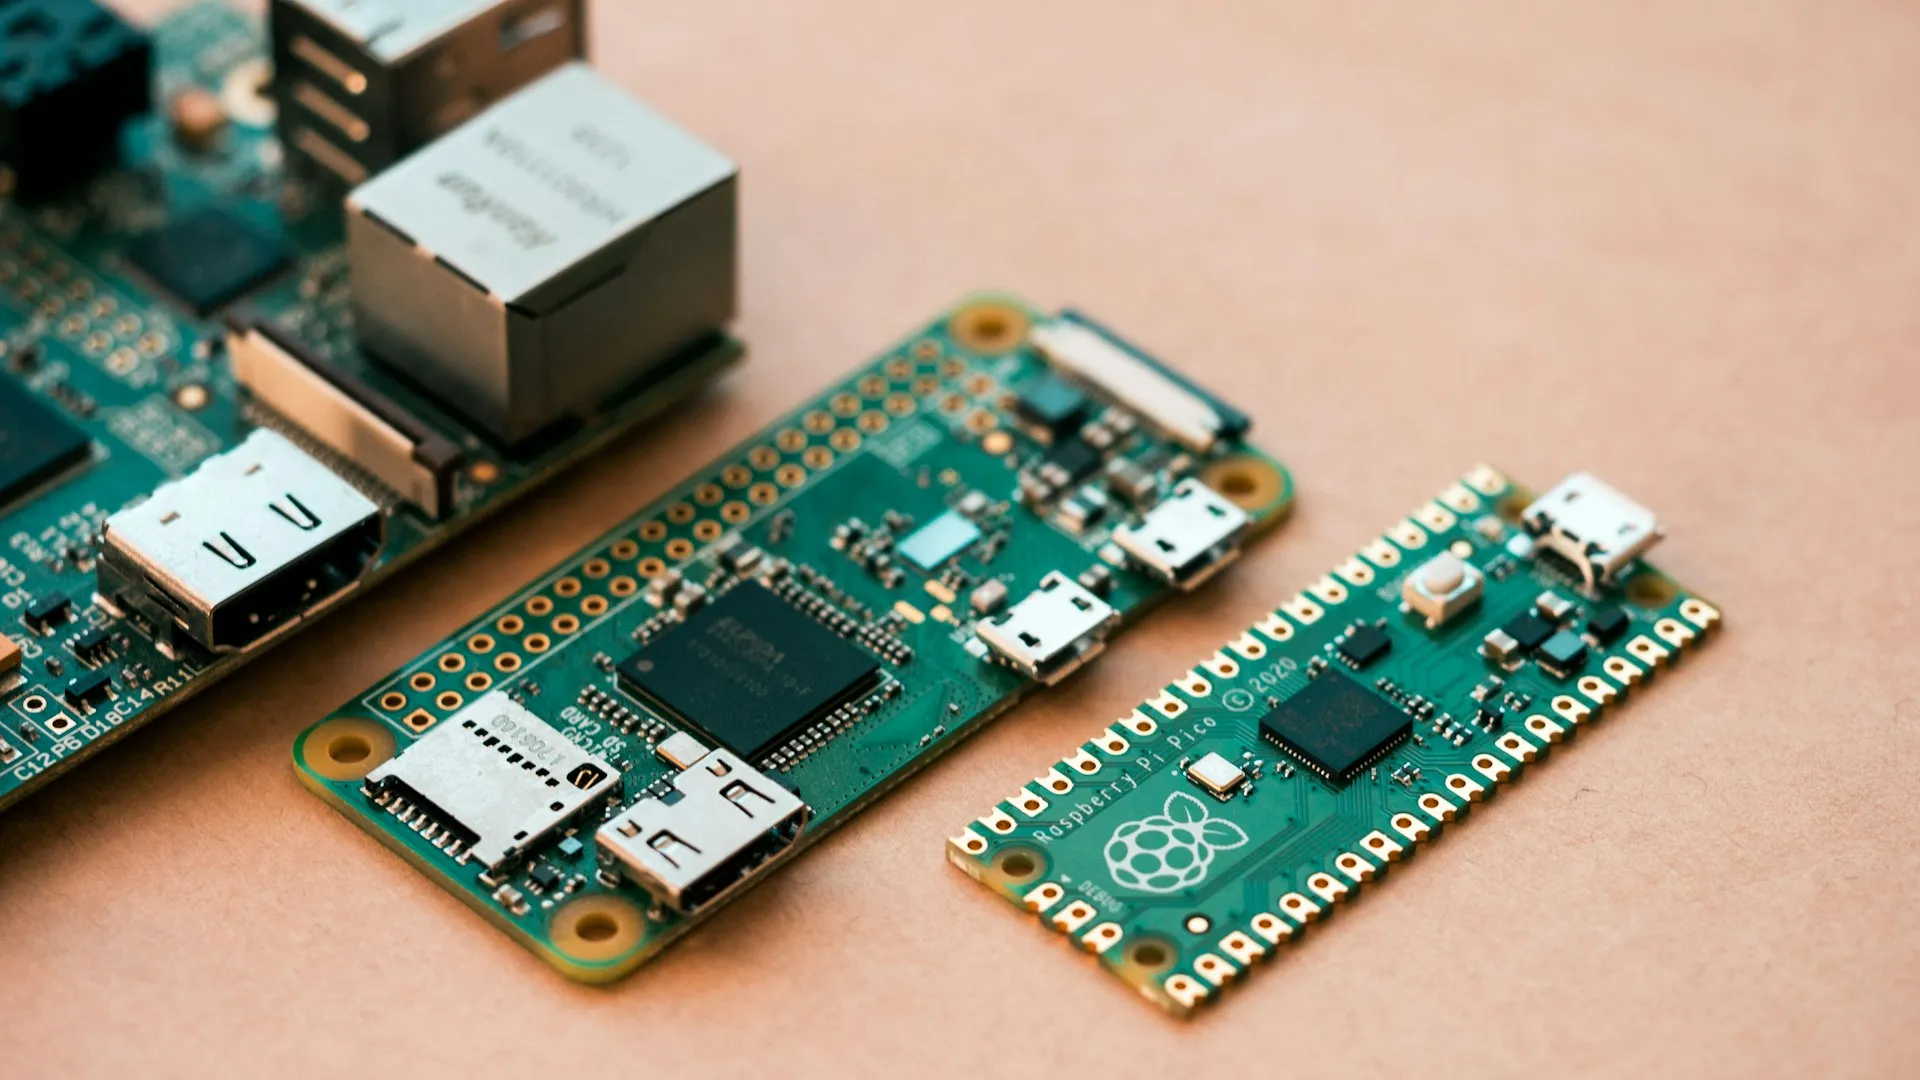
Hardware & Operating System
- Pi Zero 2 W
- Pi Camera Module 3
- Pi 12.5W Micro USB Power Supply
- Pi Zero Case
- SanDisk Extreme PRO SDHC And SDXC UHS-I Card
- Pi OS Lite (32-bit)
| Making it all work |
1. Set up your SD card using Raspberry Pi Imager
- Device: Raspberry Pi Zero 2 W
- OS: Raspberry Pi OS (other) -> Raspberry Pi OS Lite (32-bit) (Bookworm, No GUI)
- Configure settings to set up your user/pass and SSID for Wi-Fi.
2. After the first boot, update your Pi
sudo apt update
sudo apt full-upgrade
3. Install the libcamera apps (drivers for the camera)
sudo apt install libcamera-apps
4. Test to ensure the camera is recognized by the Pi
libcamera-hello --list-cameras
You should see output similar to this:

5. Download and uncompress MediaMTX
wget https://github.com/bluenviron/mediamtx/releases/download/v1.9.0/mediamtx_v1.9.0_linux_armv7.tar.gz
tar -xvzf mediamtx_v1.9.0_linux_armv7.tar.gz
6. Remove the LICENSE file (make sure to read it first): (optional)
sudo rm -rf LICENSE
7. Move the files to the correct locations and set permissions
sudo mv mediamtx /usr/local/bin/
sudo mv mediamtx.yml /usr/local/etc/
sudo chmod +x /usr/local/bin/mediamtx
8. Modify the YAML configuration file
sudo nano /usr/local/etc/mediamtx.yml
Scroll to the bottom and add the following under paths:
paths:
  cam:
    source: rpiCamera
Ensure proper indentation (2 spaces per level). Save and exit nano (Ctrl + o, Enter, Ctrl + x).
| Optional |
I also change rpiCameraTextOverlayEnable = true and I set a description in the rpiCameraTextOverlay. These settings are just above the paths in the rpi section. You can refer to the documentation for this. |
https://github.com/bluenviron/mediamtx?tab=readme-ov-file#raspberry-pi-cameras
9. Set up the service file
sudo tee /etc/systemd/system/mediamtx.service >/dev/null << EOF
[Unit]
Wants=network.target
[Service]
ExecStart=/usr/local/bin/mediamtx /usr/local/etc/mediamtx.yml
[Install]
WantedBy=multi-user.target
EOF
10. Set up the daemon, enable the service, start the service, and check its status
sudo systemctl daemon-reload
sudo systemctl enable mediamtx
sudo systemctl start mediamtx
sudo systemctl status mediamtx
The status output should look something like this:

11. If you encounter any errors, check the service log file
sudo journalctl -u mediamtx.service
12. Verify everything is working by visiting
http://yourIPaddress:8889/cam
You should see a live video feed.

Hope this helps!
| Share this post |
|
|